A more modern approach to Xcode testing —— Basic
XCTest has been a long-standing test framework for iOSers, and it's also the official test framework provided by Apple, and we've been using it for a long time, not exactly because it works, but because we didn't have a choice. We've had a few alternatives, such as Kiwi, but in general, we've been lacking a good, modern testing framework.
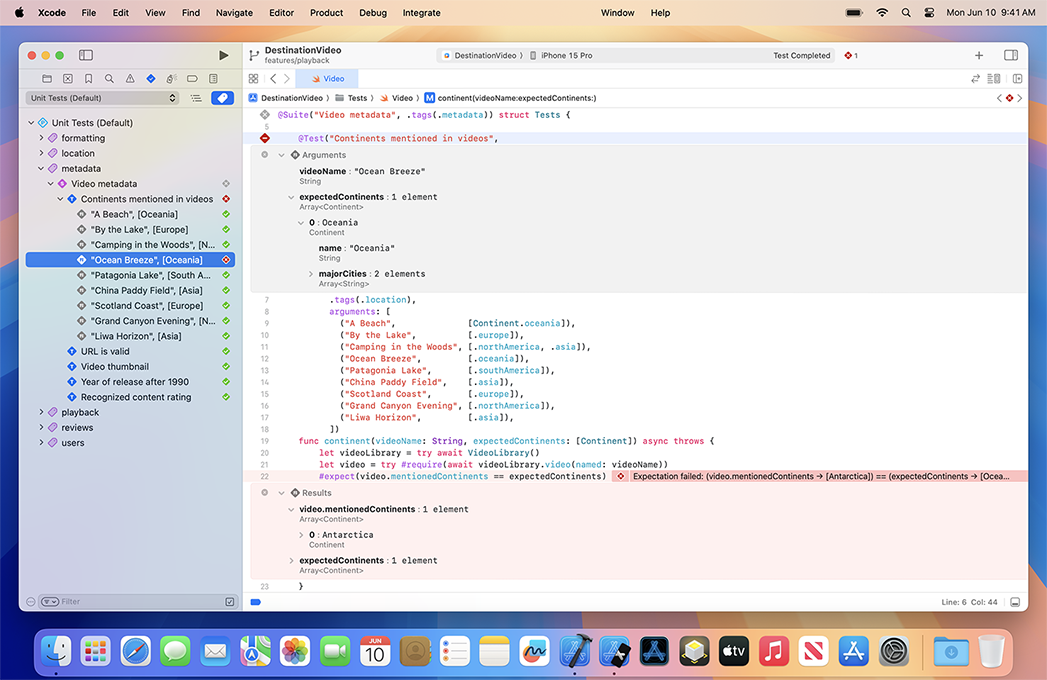
Back in 2024, Apple launched a new generation of Testing framework at WWDC 24: Swift Testing.

Swift Testing is a new framework with expressive and intuitive APIs that make testing your Swift code a breeze.
Why we need a new one
XCTest is great, it has a lot of great features, and deep integration with Xcode makes it a great experience to write test code and execute unit tests. However, XCTest is a historical framework that comes with a lot of historical baggage as well as powerful features, and we have a lot of shortcomings to overcome:
- One of the biggest problems with XCTest is that when performing complex tests, it is difficult to see the difference between the results and expectations if the test fails, and it is not easy to see the problem.å
- Executing structured tests in batches requires some skill, and we may have to resort to numerous for loops and manual construction of the data.
- Based on the above reasons, the test code written under the XCTest framework has problems such as bloated code, poor performance, and loose structure.
Swift Testing solves the above problem nicely.
Configuration
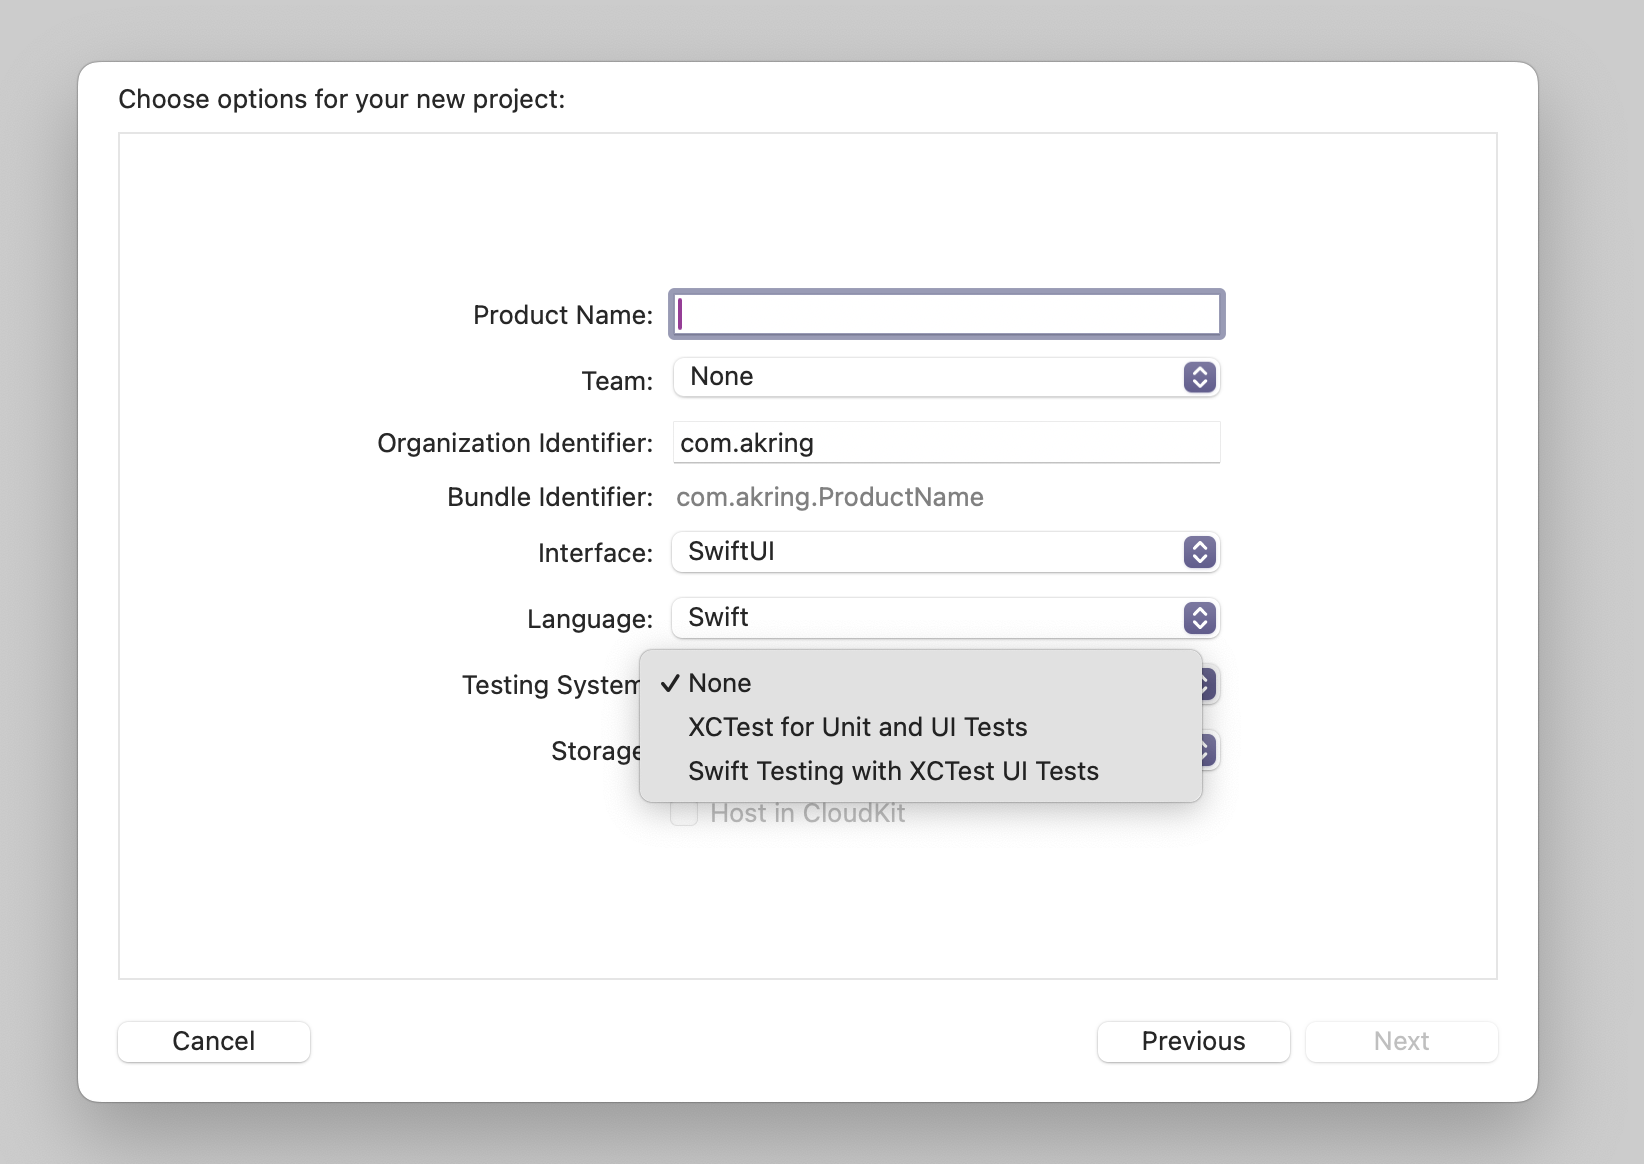
Swift Testing is already a testing framework built into Xcode, so we can simply specify it as the default testing framework when creating a new project:

Coding preparation
Writing testable import your code using Swift Testing is much simpler than XCTest.
- Let's
import Testingfirst, and don't forget@testable import your code_target, just like before with XCTest.
import Testing
@testable import TestMacDemo

struct TestMacDemoTests {

    @Test func example() async throws {
        // Write your test here and use APIs like `#expect(...)` to check expected conditions.
    }

}- Xcode generates a template function for us that starts with the
@Testmacro and marked withasync throws. In Swift Testing, all functions that starts with@Testare automatically marked as executable test cases. Xcode will generate a little action button in the sidebar.

- Finally, let's add a simple function which will be tested later.
extension Int {
  func isZero() -> Bool {
    return self == 0
  }
}
Write the tests
- Since we had add
@testable import, we can use all the things defined in our main target. Let's add atestZeroto our test:
struct TestMacDemoTests {
  @Test func testZero() async throws {
    let sample = 10
    let result = sample.isZero()

    // To be expected
  }
}- To make the usage of the test clearly, we can add some descriptions to its
@Testmacro:
struct TestMacDemoTests {
  @Test("Test Int is zero extension") func testZero() async throws {
    let sample = 10
    let result = sample.isZero()

    // To be expected
  }
}- All good, we can add "Expectations" with
#expectmacro:
struct TestMacDemoTests {
  @Test("Test Int is zero extension")
  func testZero() async throws {
    let sample = 10
    let result = sample.isZero()

    // expect
    #expect(result == true)
  }
}
At this point, we have completed a basic unit test using the Swift Testing framework, and if you have experience with the XCTest framework, you can see that our test code is much more concise and clear.
In the next article, I'll cover some of the new features introduced in Swift Testing and show how they've changed our unit testing experience.

