Since the introduction of SwiftUI, Xcode’s built-in preview feature has become an essential part of the development workflow. It allows us to instantly see the effects of our UI changes without having to repeatedly run the app—making it incredibly useful for both engineers and designers prototyping interfaces.
However, Xcode Previews mainly focus on the UI layer. While they’re great for checking layout and design accuracy, the equally important logic behind the scenes—functions, data flow, and interactions—still requires us to constantly run and stop the app, set breakpoints carefully, and comb through the code with patience and precision to catch bugs.
The good news? Starting with Xcode 16, Apple introduced the Playground feature — a thoughtful addition that makes it much easier to experiment with and debug your core logic in real time.
Create a new iOS project with Xcode 26
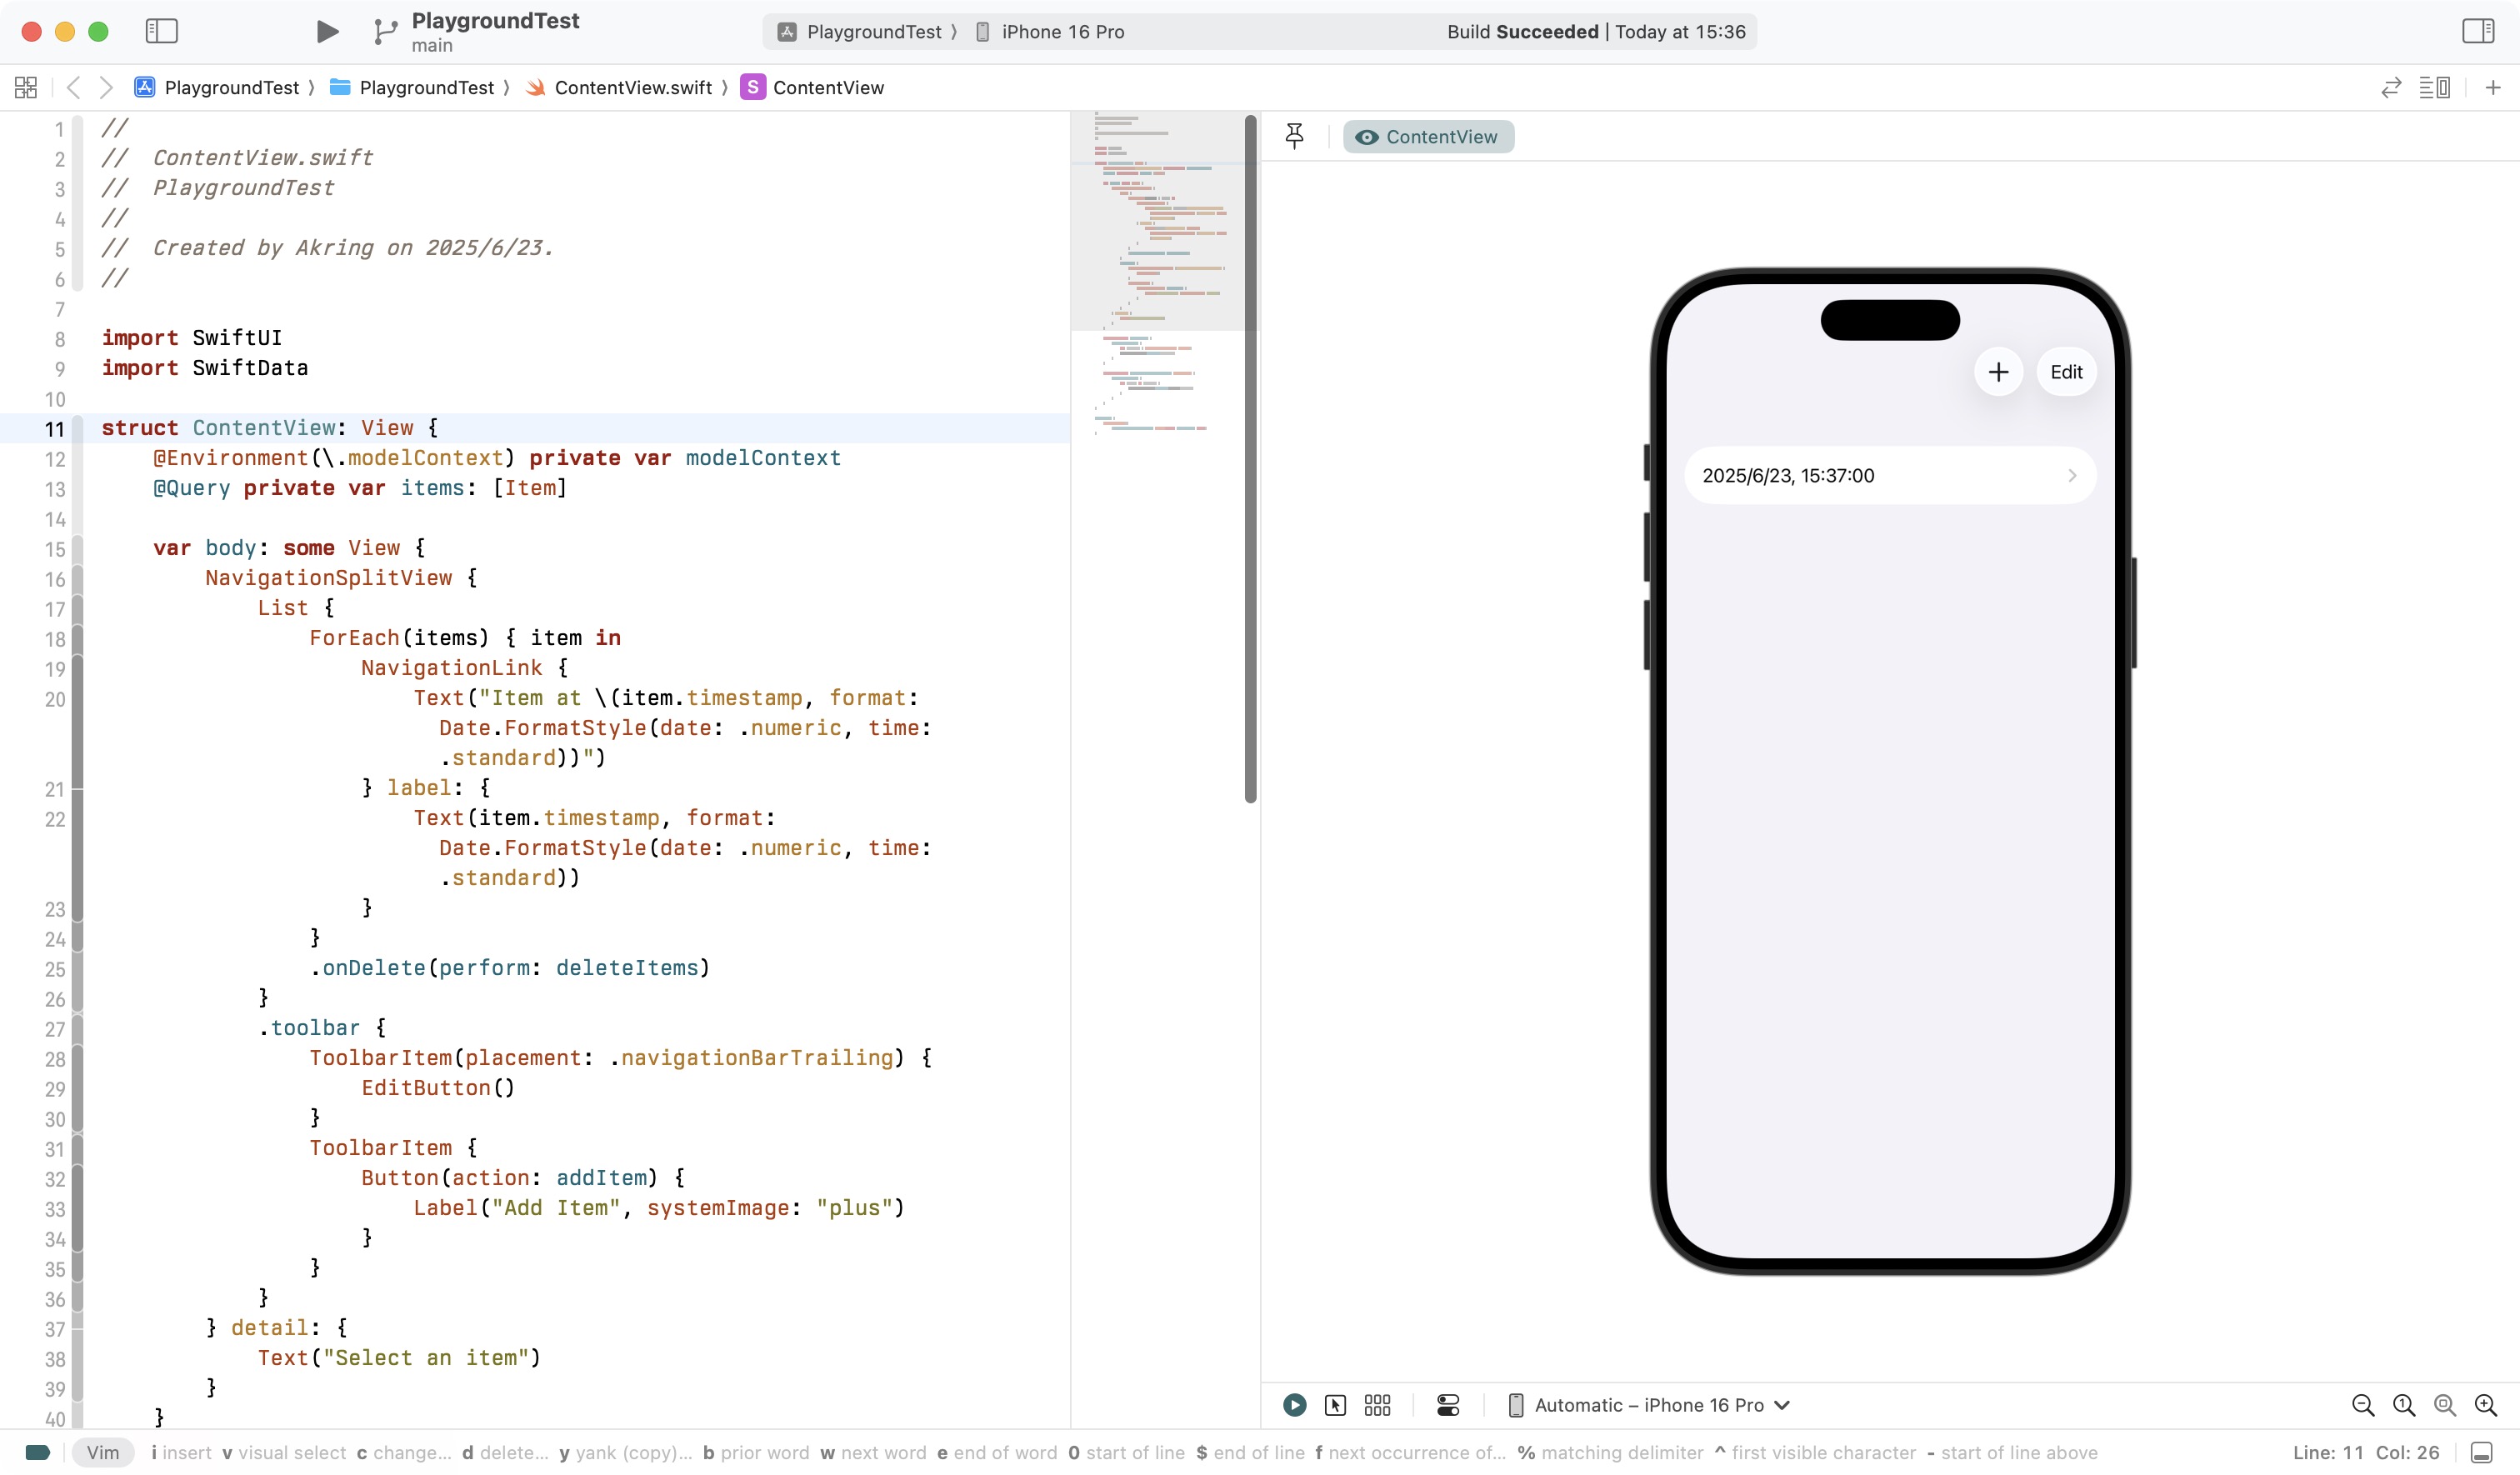
Let’s get start with this template project with SwiftUI and SwiftData. It can easily create and remove item with buttons, which is perfect to be our example.
First thing first
Always remember to import the things you need, let’s do it with:
import Playgrounds
Just like Xcode preview with macros, we can add playground snippets as:
#Playground {

}
Note: When working within a SwiftUI project, make sure to place #Playground outside of your View declarations. Otherwise, the right-side Canvas won’t properly display any Playground-related content.
Let’s add some content to Playground
Next, let’s add some code to the Playground—just like writing a simple “Hello, World!” example. But this time, I’m going to make things a bit more interesting.
#Playground {
    struct Juice {
        var fruit: String
        var cup: Int
    }

    func makeAppleJuice() -> Juice {
        return .init(fruit: "Apple", cup: 1)
    }

    print(makeAppleJuice())
}
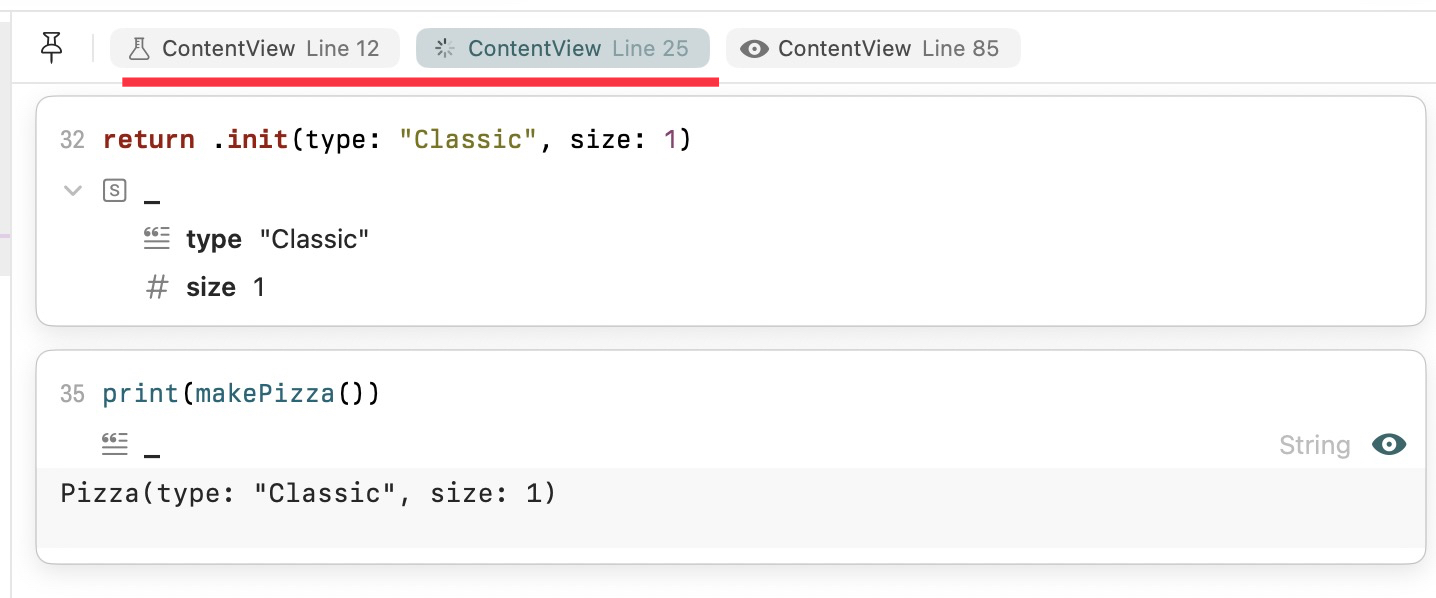
Once we’ve added the code, we can immediately see the corresponding logic and print output right in the Canvas—just like what you’d expect from the standalone Playground app.

As you can see, Xcode not only prints the final result of the makeAppleJuice function, but also reveals the intermediate steps leading up to it. This reverse walkthrough of the function’s execution is incredibly helpful for debugging and understanding your code flow.
Playground, but more
You can add multiple #Playground blocks, just like you would with #Preview.
#Playground {
    struct Juice {
        var fruit: String
        var cup: Int
    }

    func makeAppleJuice() -> Juice {
        return .init(fruit: "Apple", cup: 1)
    }

    print(makeAppleJuice())
}

#Playground {
    struct Pizza {
        var type: String
        var size: Int
    }

    func makePizza() -> Pizza {
        return .init(type: "Classic", size: 1)
    }

    print(makePizza())
}