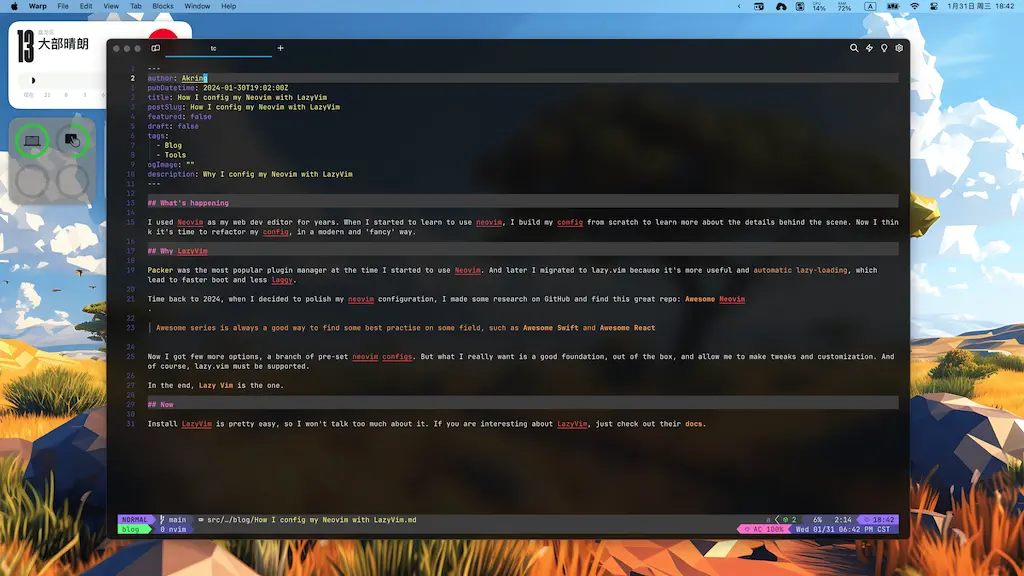
What’s happening
I used Neovim as my web dev editor for years. When I started to learn to use neovim, I build my config from scratch to learn more about the details behind the scene. Now I think it’s time to refactor my config, in a modern and ‘fancy’ way.
Why LazyVim
Packer was the most popular plugin manager at the time I started to use Neovim. And later I migrated to lazy.vim because it’s more useful and automatic lazy-loading, which lead to faster boot and less laggy.
Time back to 2024, when I decided to polish my neovim configuration, I made some research on GitHub and find this great repo: Awesome Neovim.
Awesome series is always a good way to find some best practise on some field, such as Awesome Swift and Awesome React
Now I got few more options, a branch of pre-set neovim configs. But what I really want is a good foundation, out of the box, and allow me to make tweaks and customization. And of course, lazy.vim must be supported.
In the end, Lazy Vim is the one.
Now
Install LazyVim is pretty easy, so I won’t talk too much about it. If you are interesting about LazyVim, just check out their docs.
After installation I did these things:
- Install and config Dracula theme.
- Migrate my keymap confiurations, since LazyVim had it’s own keymaps.
- Config lsp with
Mason.
That’s all, I got a nice and feature-rich IDE.
