Upload DSYM to Sentry with Xcode Cloud

I’ve been using Xcode Cloud as my CI toolchain for quite some time. It manages the entire pipeline seamlessly, from building and archiving to pushing releases to TestFlight and generating binaries for App Store submission. While Apple provides “generous” free usage credits (though it feels like this should already be included in the $99 developer fee), the system has been instrumental in keeping my app operations running smoothly.
Recently, I integrated Sentry into my app for exception monitoring, which has worked brilliantly in debug mode, offering detailed exception reports. However, this introduced a new challenge: I needed to modify my CI toolchain to support uploading DSYM files. Without this step, production binaries with Sentry integration would generate incomprehensible error stacks and cryptic strings, rendering exception monitoring ineffective.
What DSYM file is
A DSYM file, short for “Debug Symbols File,” is an essential resource in macOS and iOS application development. It contains debugging information that helps developers identify and fix issues when a crash or error occurs in their applications. Specifically, a DSYM file maps symbols like function names and variable names to the machine code generated during compilation.
When an application crashes, the system generates a crash log that includes the call stack at the time of the crash. However, this information is often encoded in a way that is difficult to interpret directly. With the DSYM file, developers can decode these memory addresses into readable function names and line numbers, making it much easier to pinpoint and resolve problems.
It is crucial to retain the corresponding DSYM files during the development and release process. When users report crashes, these files allow developers to effectively debug and address the issues.
How to Upload DSYM Files to Sentry
Sentry’s documentation provides a variety of methods for uploading DSYM files, including using the sentry-cli tool, a Sentry plugin for Jenkins, as well as manual uploads, among others. For more details, you can refer to their official documentation.
When Sentry meets Xcode Cloud
Since I use Xcode Cloud, my CI pipeline essentially runs on remote Apple servers in another data center. This means I can’t directly intervene at any specific step and say, “Hey, give me the DSYM file so I can upload it to Sentry.” Fortunately, Apple provides a compromise by allowing us to execute additional scripts at various workflow stages.
Step 1: Choose an Upload Method
According to Sentry’s documentation, I decided to use the sentry-cli tool for uploading DSYM files.
Step 2: Create Xcode Cloud Scripts
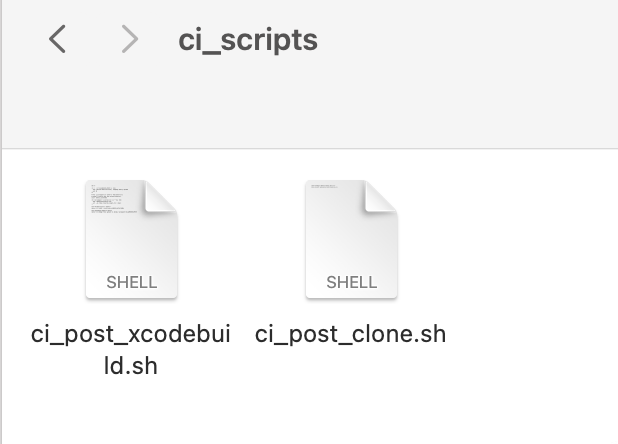
First, create a folder named ci_scripts in the root directory of your project and add two script files:
• ci_post_clone.sh
• ci_post_xcodebuild.sh

The file names MUST be exact because Xcode Cloud will execute scripts in this folder based on their names and the corresponding workflow stages.
1. ci_post_clone.sh
This script runs right after the code is cloned from the Git repository. Add the following code:
echo "Install Sentry tools and CLI"
brew install getsentry/tools/sentry-cli
ci_post_clone.sh
• echo: Adds annotations to the Xcode Cloud execution log to help you track the script’s progress and results.
• brew install: Installs the sentry-cli tool using Homebrew. No need to worry about installing Homebrew—Apple has already set it up for us.
2. ci_post_xcodebuild.sh
This script runs after the Xcode build step. Add the following code:
set -e

if [ ! -d "$CI_ARCHIVE_PATH" ]; then
  echo "Archive does not exist, skipping Sentry upload"
  exit 0
fi

# This is necessary in order to have sentry-cli
# install locally into the current directory
export INSTALL_DIR=$PWD

if [[ $(command -v sentry-cli) == "" ]]; then
  echo "Installing Sentry CLI"
  curl -sL https://sentry.io/get-cli/ | bash
fi

echo "Authenticate to Sentry"
sentry-cli login --auth-token $SENTRY_AUTH_TOKEN

echo "Uploading dSYM to Sentry"
sentry-cli debug-files upload -o <org> -p <project> $CI_ARCHIVE_PATH
ci_post_xcodebuild.sh
• Pre-checks: Ensures the archive process is complete and that the sentry-cli tool is available.
• Authentication: Uses the SENTRY_AUTH_TOKEN environment variable (configured in Xcode Cloud) to authenticate with Sentry’s API.
• Upload: Specifies the Sentry organization (<org>) and project (<project>), and uploads the DSYM files to Sentry.
Step 3: Run and Verify
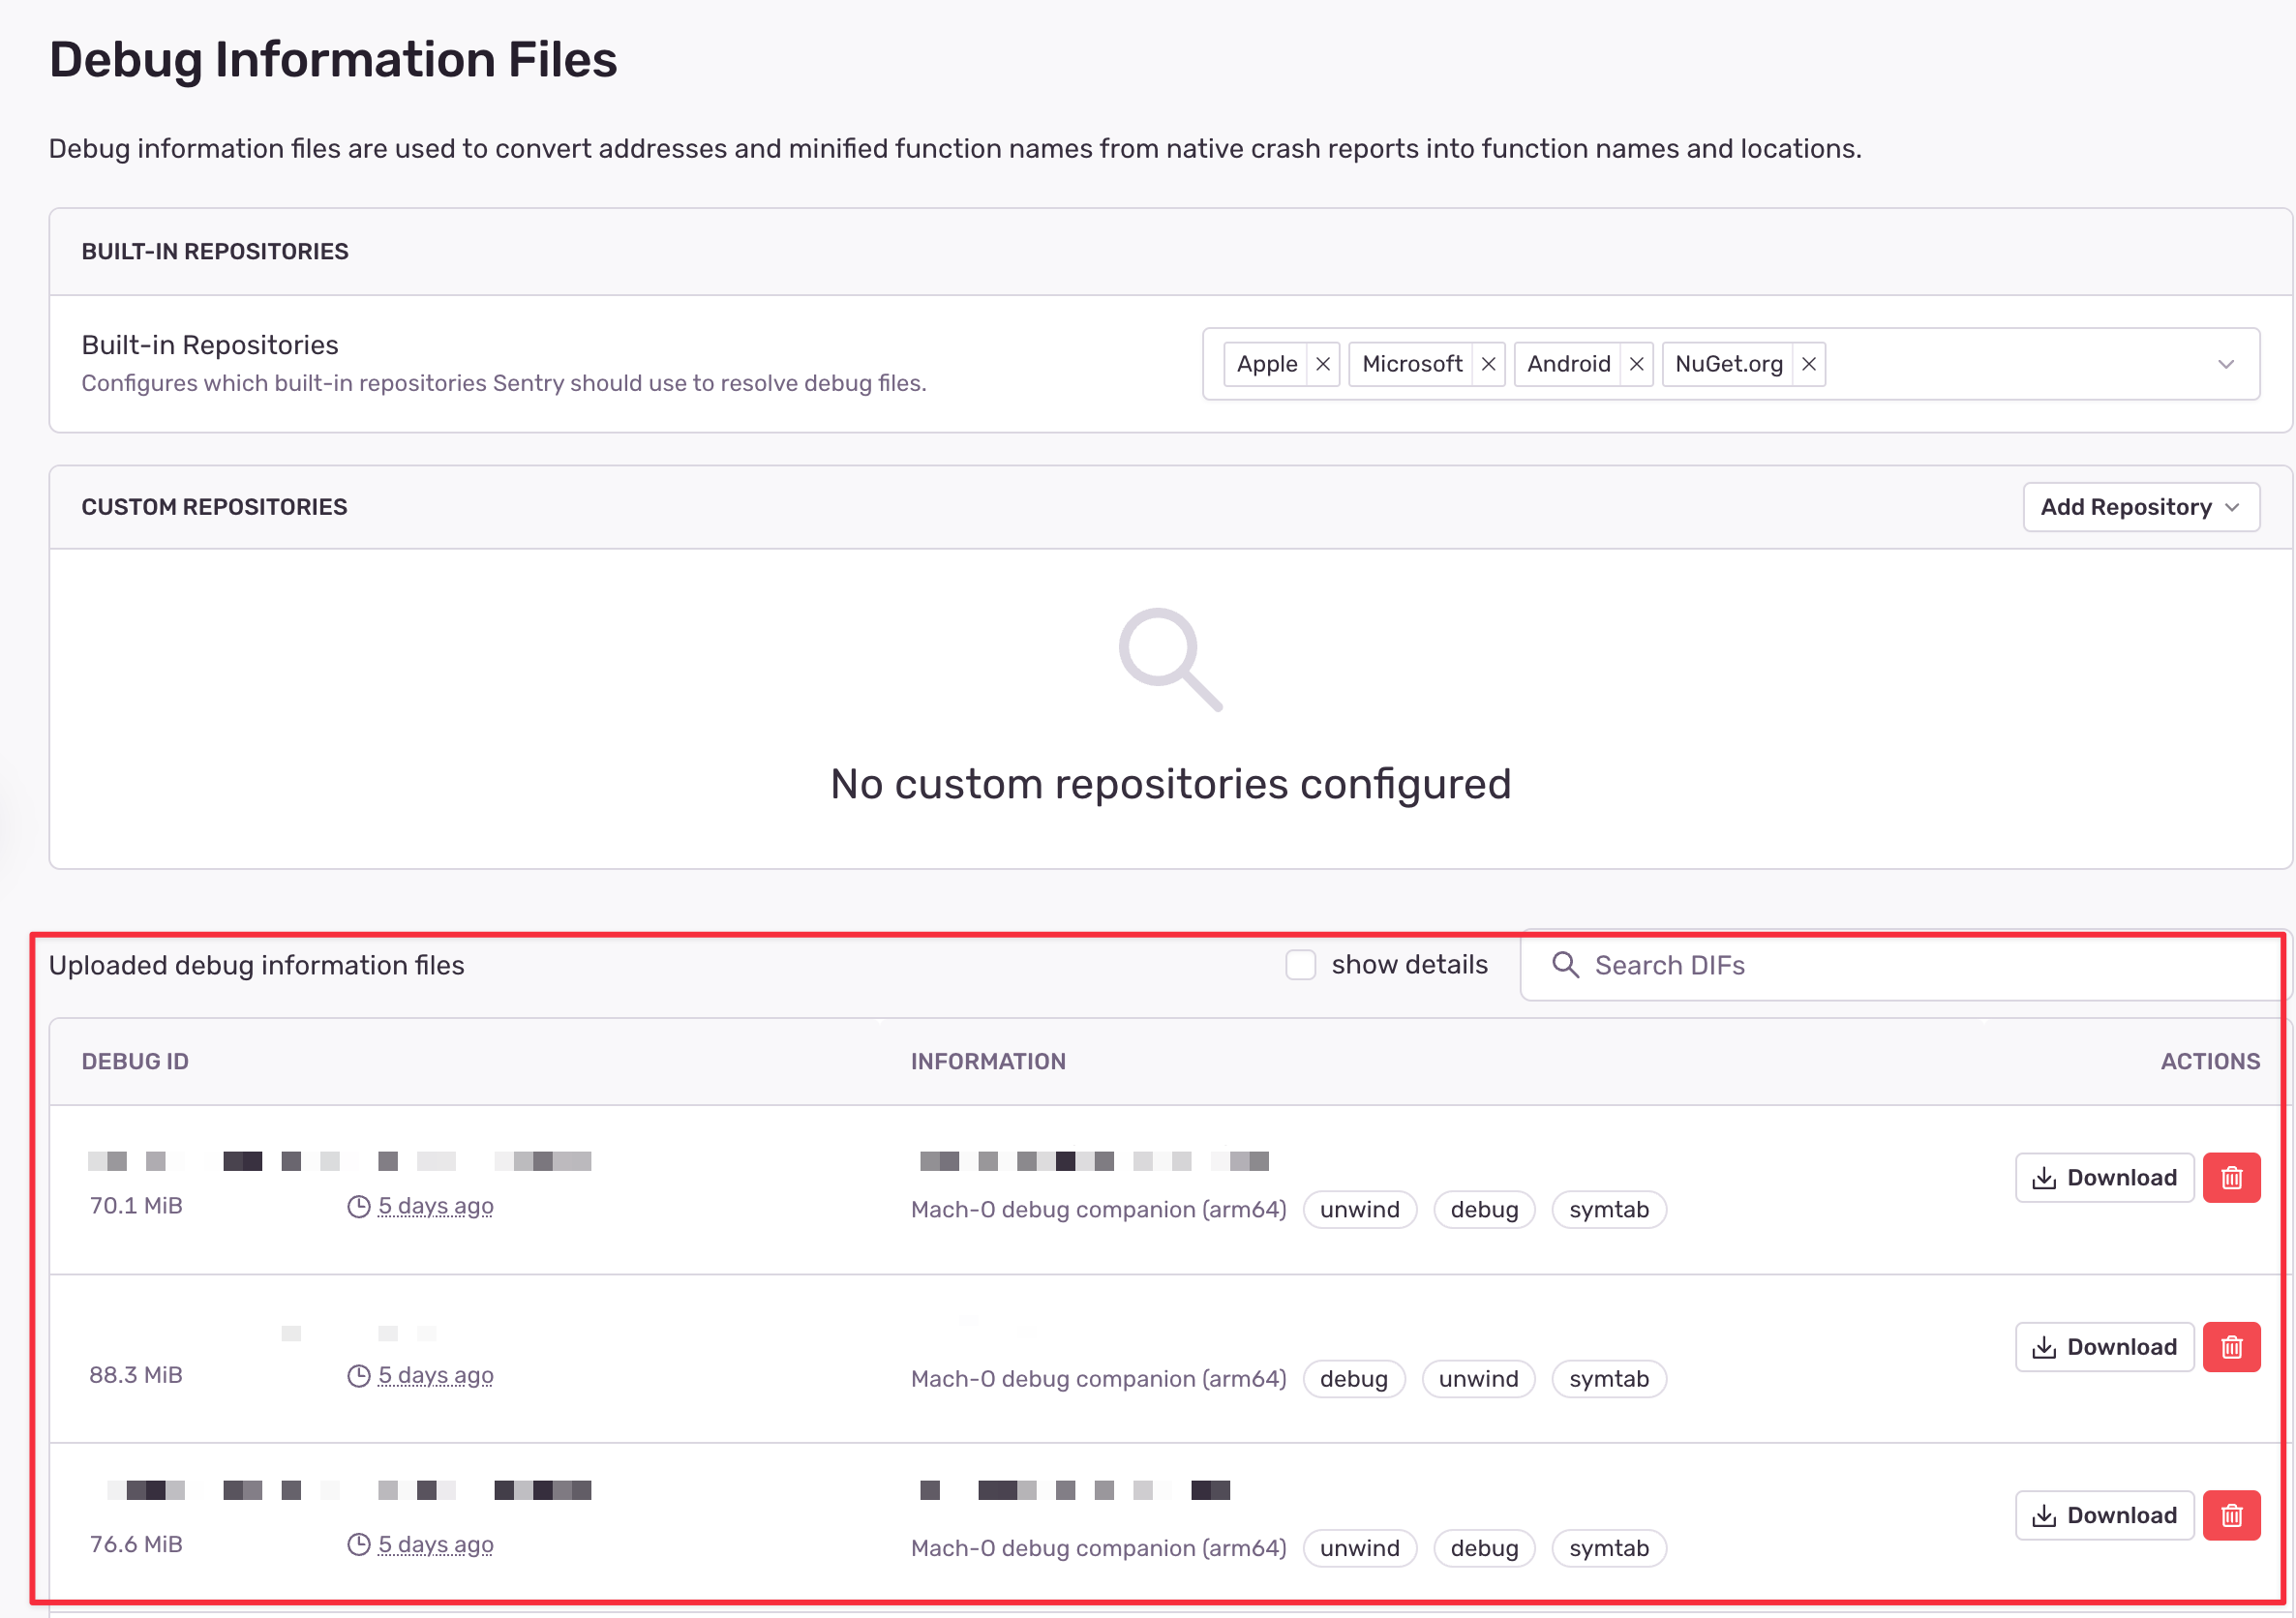
Once the scripts are in place, execute your Xcode Cloud workflow. After it completes, check Sentry’s dashboard to confirm that the DSYM files have been successfully uploaded.


